2

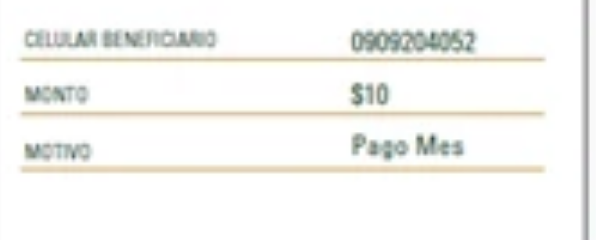
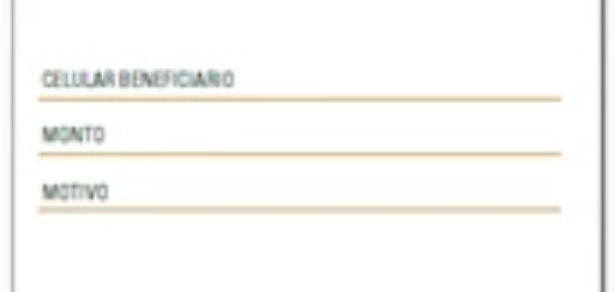
maquetando un poco en Swift me encuentro que no se cual es el control para poder realizar el siguiente tipo de modelo introducir la descripción de la imagen aquí

introducir la descripción de la imagen aquí

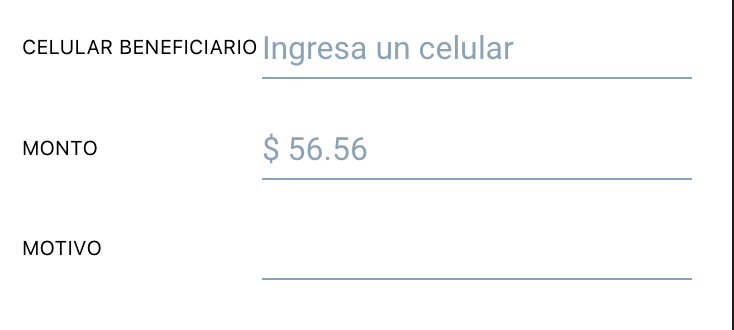
hasta ahora tengo

introducir la descripción de la imagen aquí

Mi pregunta seria como poder imitar la imagen de arriba

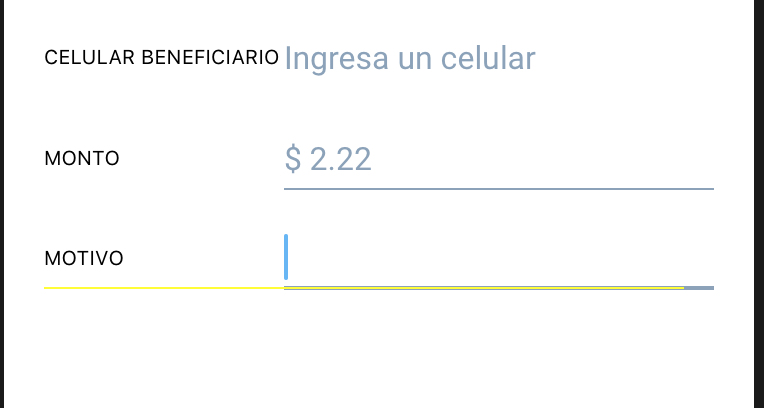
Agrege como me dijiste una view de 1 de altura pero la view queda muy por debajo

introducir la descripción de la imagen aquí

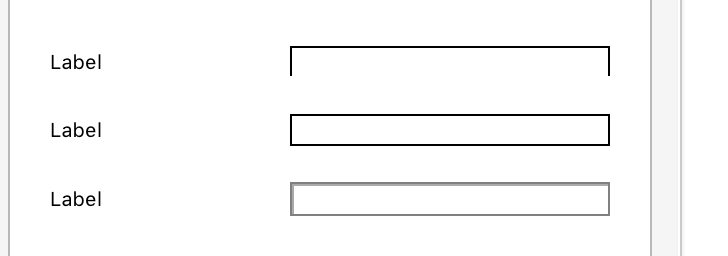
introducir la descripción de la imagen aquí es la primera del todo la que el fondo esta como en blanco

pero la linea aparece abajo del todo

aparte de esto me aparece el color del edittext alguna forma de eliminarlo?

2 respuestas 2

6

Es simple agregar una subvista para actuar como una línea. aquí te dejo un ejemplo guía:

Swift 4

 let lineView = UIView(frame: CGRect(x: 0, y: 100, width: 320, height: 1.0))
 lineView.layer.borderWidth = 1.0
 lineView.layer.borderColor = UIColor.black.cgColor
 self.view.addSubview(lineView)

Objective C

UIView * lineview = [[UIView alloc] initWithFrame:CGRectMake(0, 100,320,1)];
lineview.layer.borderColor = [UIColor blackColor].CGColor;
lineview.layer.borderWidth = 1.0;
[self.view addSubview:lineview];

O puede consultar este enlace para agregar CALayer o dibujar una vista

¿cómo se dibuja una línea programáticamente desde un controlador de vista? (Info en Inglés).

4
  • osea que deberia agregar una View debajo de cada caja y agregar ese codigo que me pasaste? disculpa soy bastante noob Commented el 5 abr. 2018 a las 13:15
  • @BrunoSosaFastTag si, también Puedes lograr esto en Storyboard . Todo lo que tiene que hacer es arrastrar UIView con height = 1y width lo que sea bueno para usted (idealmente igual al ancho de la pantalla). Colócalo donde quieras que estén las líneas. Commented el 5 abr. 2018 a las 13:29
  • edite mi pregunta por favor si puedes ayudarme! Commented el 5 abr. 2018 a las 14:06
  • ya lo logre cambio el y a 0 Commented el 5 abr. 2018 a las 14:14
1

Usa esta extension de UIView

  public enum UIButtonBorderSide {
     case Top, Bottom, Left, Right, All
  }
extension UIView {

       public func addBorder(side: UIButtonBorderSide, color: UIColor,     width: CGFloat) {
    let border = CALayer()
    border.name = "border"
    border.backgroundColor = color.cgColor

    switch side {
    case .Top:
        border.frame = CGRect(x: 0, y: 0, width: frame.size.width, height: width)
        self.layer.addSublayer(border)
    case .Bottom:
        border.frame = CGRect(x: 0, y: self.frame.size.height - width, width: self.frame.size.width, height: width)
        self.layer.addSublayer(border)
    case .Left:
        border.frame = CGRect(x: 0, y: 0, width: width, height: self.frame.size.height)
        self.layer.addSublayer(border)
    case .Right:
        border.frame = CGRect(x: self.frame.size.width - width, y: 0, width: width, height: self.frame.size.height)

        self.layer.addSublayer(border)
    case .All:
        let topBorder = CALayer()
        let bottomBorder = CALayer()
        let rightBorder = CALayer()
        let leftBorder = CALayer()

        topBorder.frame = CGRect(x: 0, y: 0, width: frame.size.width, height: width)
        topBorder.backgroundColor = color.cgColor

        bottomBorder.frame = CGRect(x: 0, y: self.frame.size.height - width, width: self.frame.size.width, height: width)
        bottomBorder.backgroundColor = color.cgColor

        leftBorder.frame = CGRect(x: 0, y: 0, width: width, height: self.frame.size.height)
        leftBorder.backgroundColor = color.cgColor

        rightBorder.frame = CGRect(x: self.frame.size.width - width, y: 0, width: width, height: self.frame.size.height)
        rightBorder.backgroundColor = color.cgColor


        self.layer.addSublayer(topBorder)
        self.layer.addSublayer(bottomBorder)
        self.layer.addSublayer(leftBorder)
        self.layer.addSublayer(rightBorder)

    }


  }

}

Y lo usas de esta manera

miTextField.addBorder(side: .Bottom, color: UIColor.blue, width: 2.0)
Tu Respuesta

By clicking “Publica tu respuesta”, you agree to our terms of service and acknowledge you have read our privacy policy.

¿No es la respuesta que buscas? Examina otras preguntas con la etiqueta o formula tu propia pregunta.